
My Painting of Rorke’s Drift
I have just finished a commission of a Painting of Rorke’s Drift.
The painting is in Acrylic painted on a stretched Canvas wooded frame measuring 30’ x 20”.
I did a watercolour first to of the seen and then asked the client if that is what he has in mind, he said yes but wanted more Zulu’s in the painting, so I changed some things around as you can see from the two paintings.
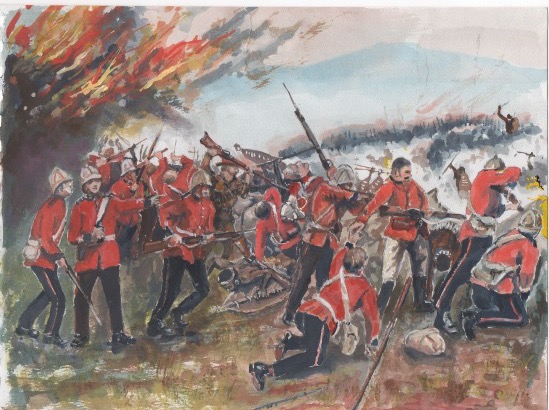
The watercolour I sent to the client to see if this is what he has in mined. As he wanted more Zulu warriors in the picture I removed the two solders in the right added a Zulu and put a solder kneeling down facing him.
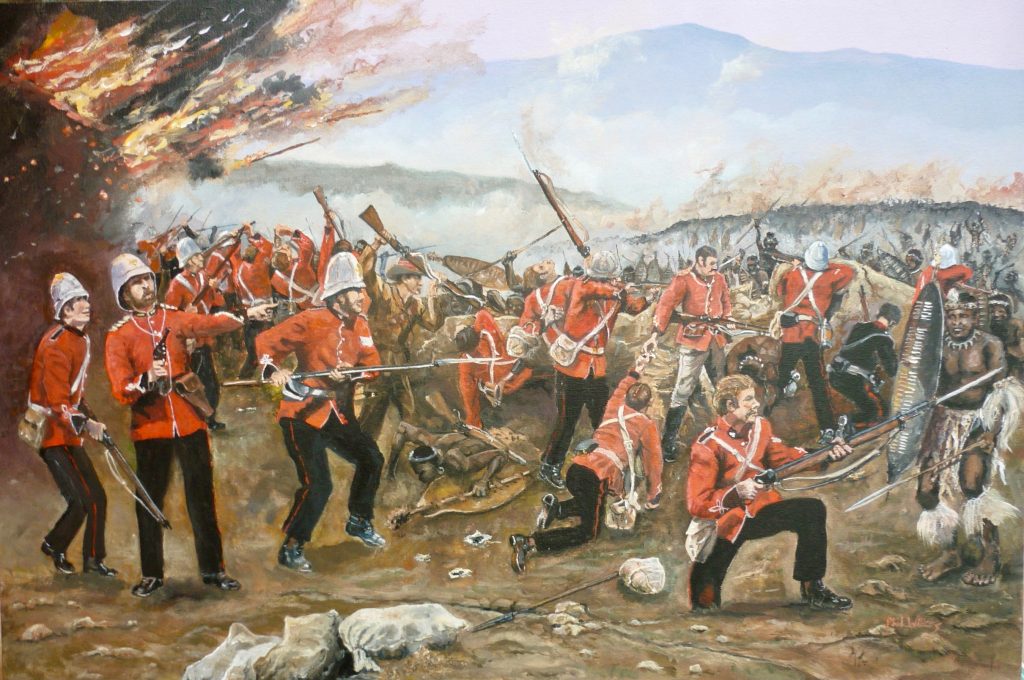
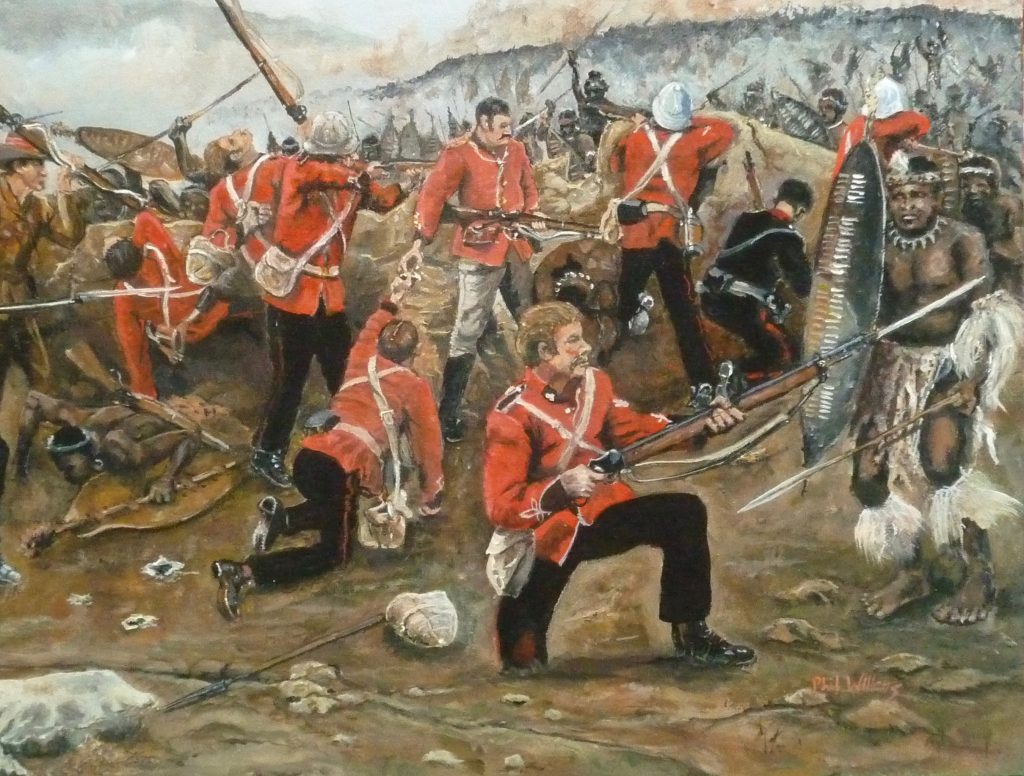
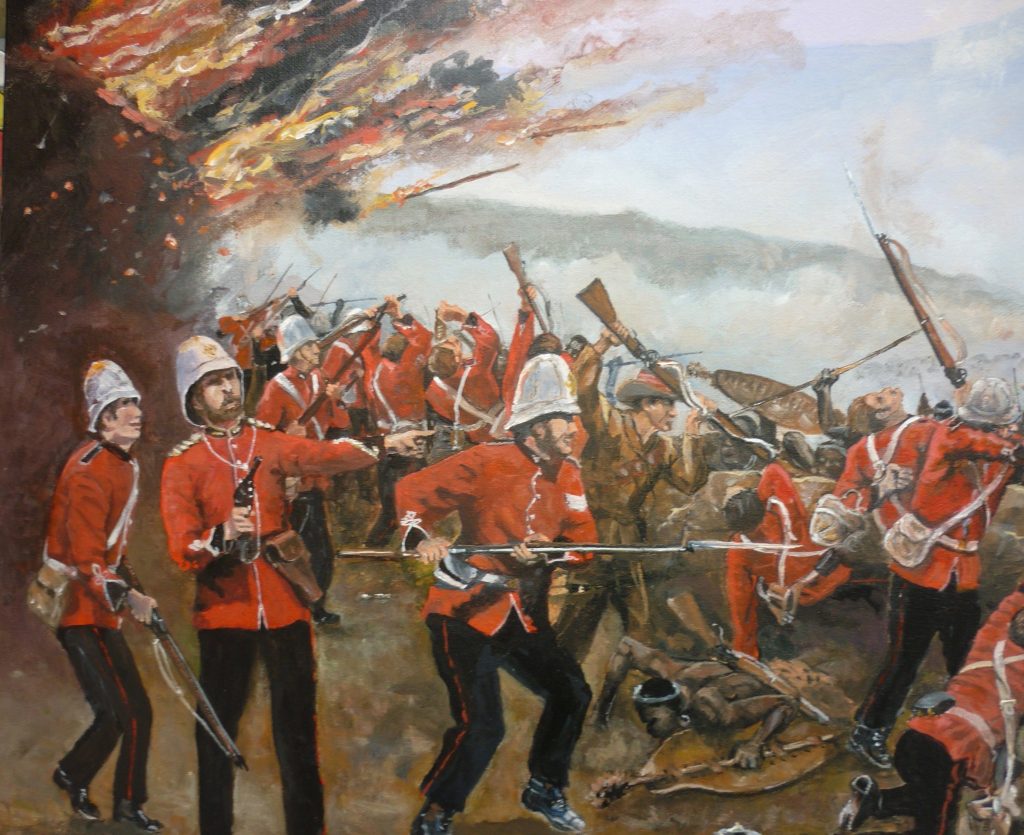
The Finished Painting
The painting was quit a challenge putting all the figures in place and getting the proportions wright and also the perspective correctly as well. The one thing with acrylics is you can paint over mistakes or lengthen legs and arms to get the wright proportions.
The Colours I used were:
Carbon Black, Burnt Sienna, Yellow Ocher, Yellow Deep, Raw Umber, Raw Sienna, Cadmium Red light, Sap Green, Titanium White.
These paints were Atelier Interactive (They do not dry like ordinary. Acrylic as with a waters spray they can be revitalized).
I also used Winsor & Newton Buff White.
And Rowney Ultramarine Blue and Flesh Tone.
That makes 12 colours.
I started the painting by covering the white canvas with Pale Umber this is a mid tone, when dry I sketched the seen with a soft pencil, when I was happy with the seen I painted over the pencil marks with a green and black mixture to help in checking the proportions and perspective.
I painted the sky and mountains and the dark shape of the burning building first I then started on each figures at a time making sure the uniforms and proportions were right. When all the figures were painted I moved on to the Zulus in the distance the hospital flames and smoke and finally the forefront of the picture the rough ground ad the maze bags.
To do this sort of painting you have to look into the history to help in accuracy in uniformed and location also who were involved in this battle this knowledge helped me in painting the forefront, the British and Colonial troops made a wall of mealie bags to defend the perimeter, I used this information to pain some bags in the front of the painting this helped to fill a gap and stop the eye from wondering of the bottom of the painting.
The officer in charge was Lt John Chard he is in the front line in my painting with the black mustache being handed some cartridges by a solder the second officer in charge was Lt Gonville Bromhead they both looked like what I have painted them as I used two photos of them.
I will now give some information about the battle and who were there.
In January a British force commanded by Lieutenant-general Lord Chelmsford came to Zululand to extend British influence in Sothern Africa. The army was split into three columns Chelmsford led the central column himself, crossing Buffalo River at Rorkes Drift mission station to seek out the Zulu army.
The British Officers had underestimated the Zulu warriors the speed of movement and fighting ability. And on 22 January 1879 20,000 Zulu warriors launched a surprise attack against Chelmsford’s camp at Isandlwana. Unprepared and dangerously strung out, the majority of the 1,700 British soldiers were killed.
Survivors from Isandlwana soon reached Rorke’s Drift with news of the approaching Zulu army. Lieutenants John Chad and Gonville Bromhead met with Assistant Commissary James Dalton of the Commissariat and Transport Department to decide whether they should retreat or defend the station.
Dalton argued that their small force, travelling in open country and burdened with hospital patients, would be caught by fast moving Zulus, so it was agreed that they would stay and fight.
They set up about building improvised barricades from maze bags (I put three in the front of my painting) and biscuit boxes and crates of tinned meat, the buildings were also loop-holed for defence.
The Zulu army arrived at Rorke’s Drift at 4.30pm. They spent the next 12 hours continuously storming the British defences, which were mainly held by soldiers of the 24th (2nd Warwickshire) Regiment.
At first, they were unable to reach the men behind the barricades with their spears. Many Zulu warriors were shot down at point-blank range. And the defenders forced back any who did manage to climb over.
British soldiers who were too badly wounded to shoot were tasked with reloading guns and distributing ammunition to those who could still fire. Many of the Zulus who had firearms lacked training and were poor shots.
As the battle raged on, the Zulus targeted the hospital. They set fire to the building, burst in and began killing the patients with their spears. But the defenders managed to push them back with bayonets.
The surviving patients were rescued after soldier’s hacked holes in the walls separating the rooms, and dragged them through and into the barricaded yard.
As night fell, the British withdrew to the centre of the station, where a final defence had been hastily built. They eventually succeeded in fighting the Zulus off.
As night fell, the British withdrew to the centre of the station, where a final defence had been hastily built. They eventually succeeded in fighting the Zulus off.
If anyone would like me paint a commission of a military seen or a portrait please let me know there is a video of the of me painting this on YouTube so go and have a look.
Phil